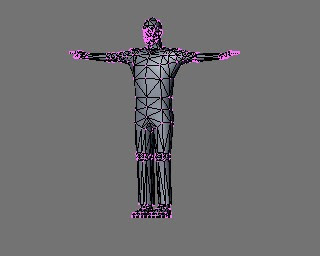
 Let me just say this now: I am not an expert. However, I have made some decent models in the past, and I will not give up until things reach perfection... or at least close enough. I am merely stating what I learn along the way. If you want a full modeling tutorial, might I suggest the 3dtotal tutorials. There is one on there especially for low poly characters for games, which I brought some of the information with me to use with using the makehuman models as a 3d reference. This is also important to learn: MakeHuman does not make characters that do not follow a human guideline. (The Hulk, demons, werewolfs, ect.) However, a good technique is to use blender's sculpting tools to turn the makehuman model into the rough shape of the character your trying to make.
If you are like me, you will cringe at the look of an untextured low poly model. But remember, ultimately, you will copy this model, and use it to sculpt a very high detail model for blender to reference to create tangent space normal maps, thus making the model, except for the outline, look almost exactly like an extreme high poly model that would kill a tesla gpu.
Back to the main topic: Modeling the rest of it. Basically, hug the make human model and make a low poly cage. For areas of clothing, make the cage slightly bigger at that point. What closely what that type of clothing would do, as I said in an earlier post, some shirts would pull tight as the arm would go up, so model for that type of animation. Make sure to have vertexes at any joints. I am experimenting with a different way to set up the bones to eliminate distortion, more on this later. To create skirts, jacket tails, hair, ect, extrude from the model where it s to be attached, and then delete any unnecessary vertexes. When creating any collision meshes, make independent boxes, not one low poly cage. This is because the physics engine can do collision tests faster on a group of boxes than a mesh that a ray can intersect more than once. (concave vrs. convex) For the skirt example, if you plan on simulating cloth with it, delete the portion of the legs that you can't see and create the collision boxes for the legs to create close to real fast simulation.
No comments:
Post a Comment